
This walkthrough takes you from nothing to a chatbot answering questions on your website. It takes about ten minutes, most of it waiting for your pages to be read. You need your website's address and a way to add a line of code to it, or someone who can.
Create your account
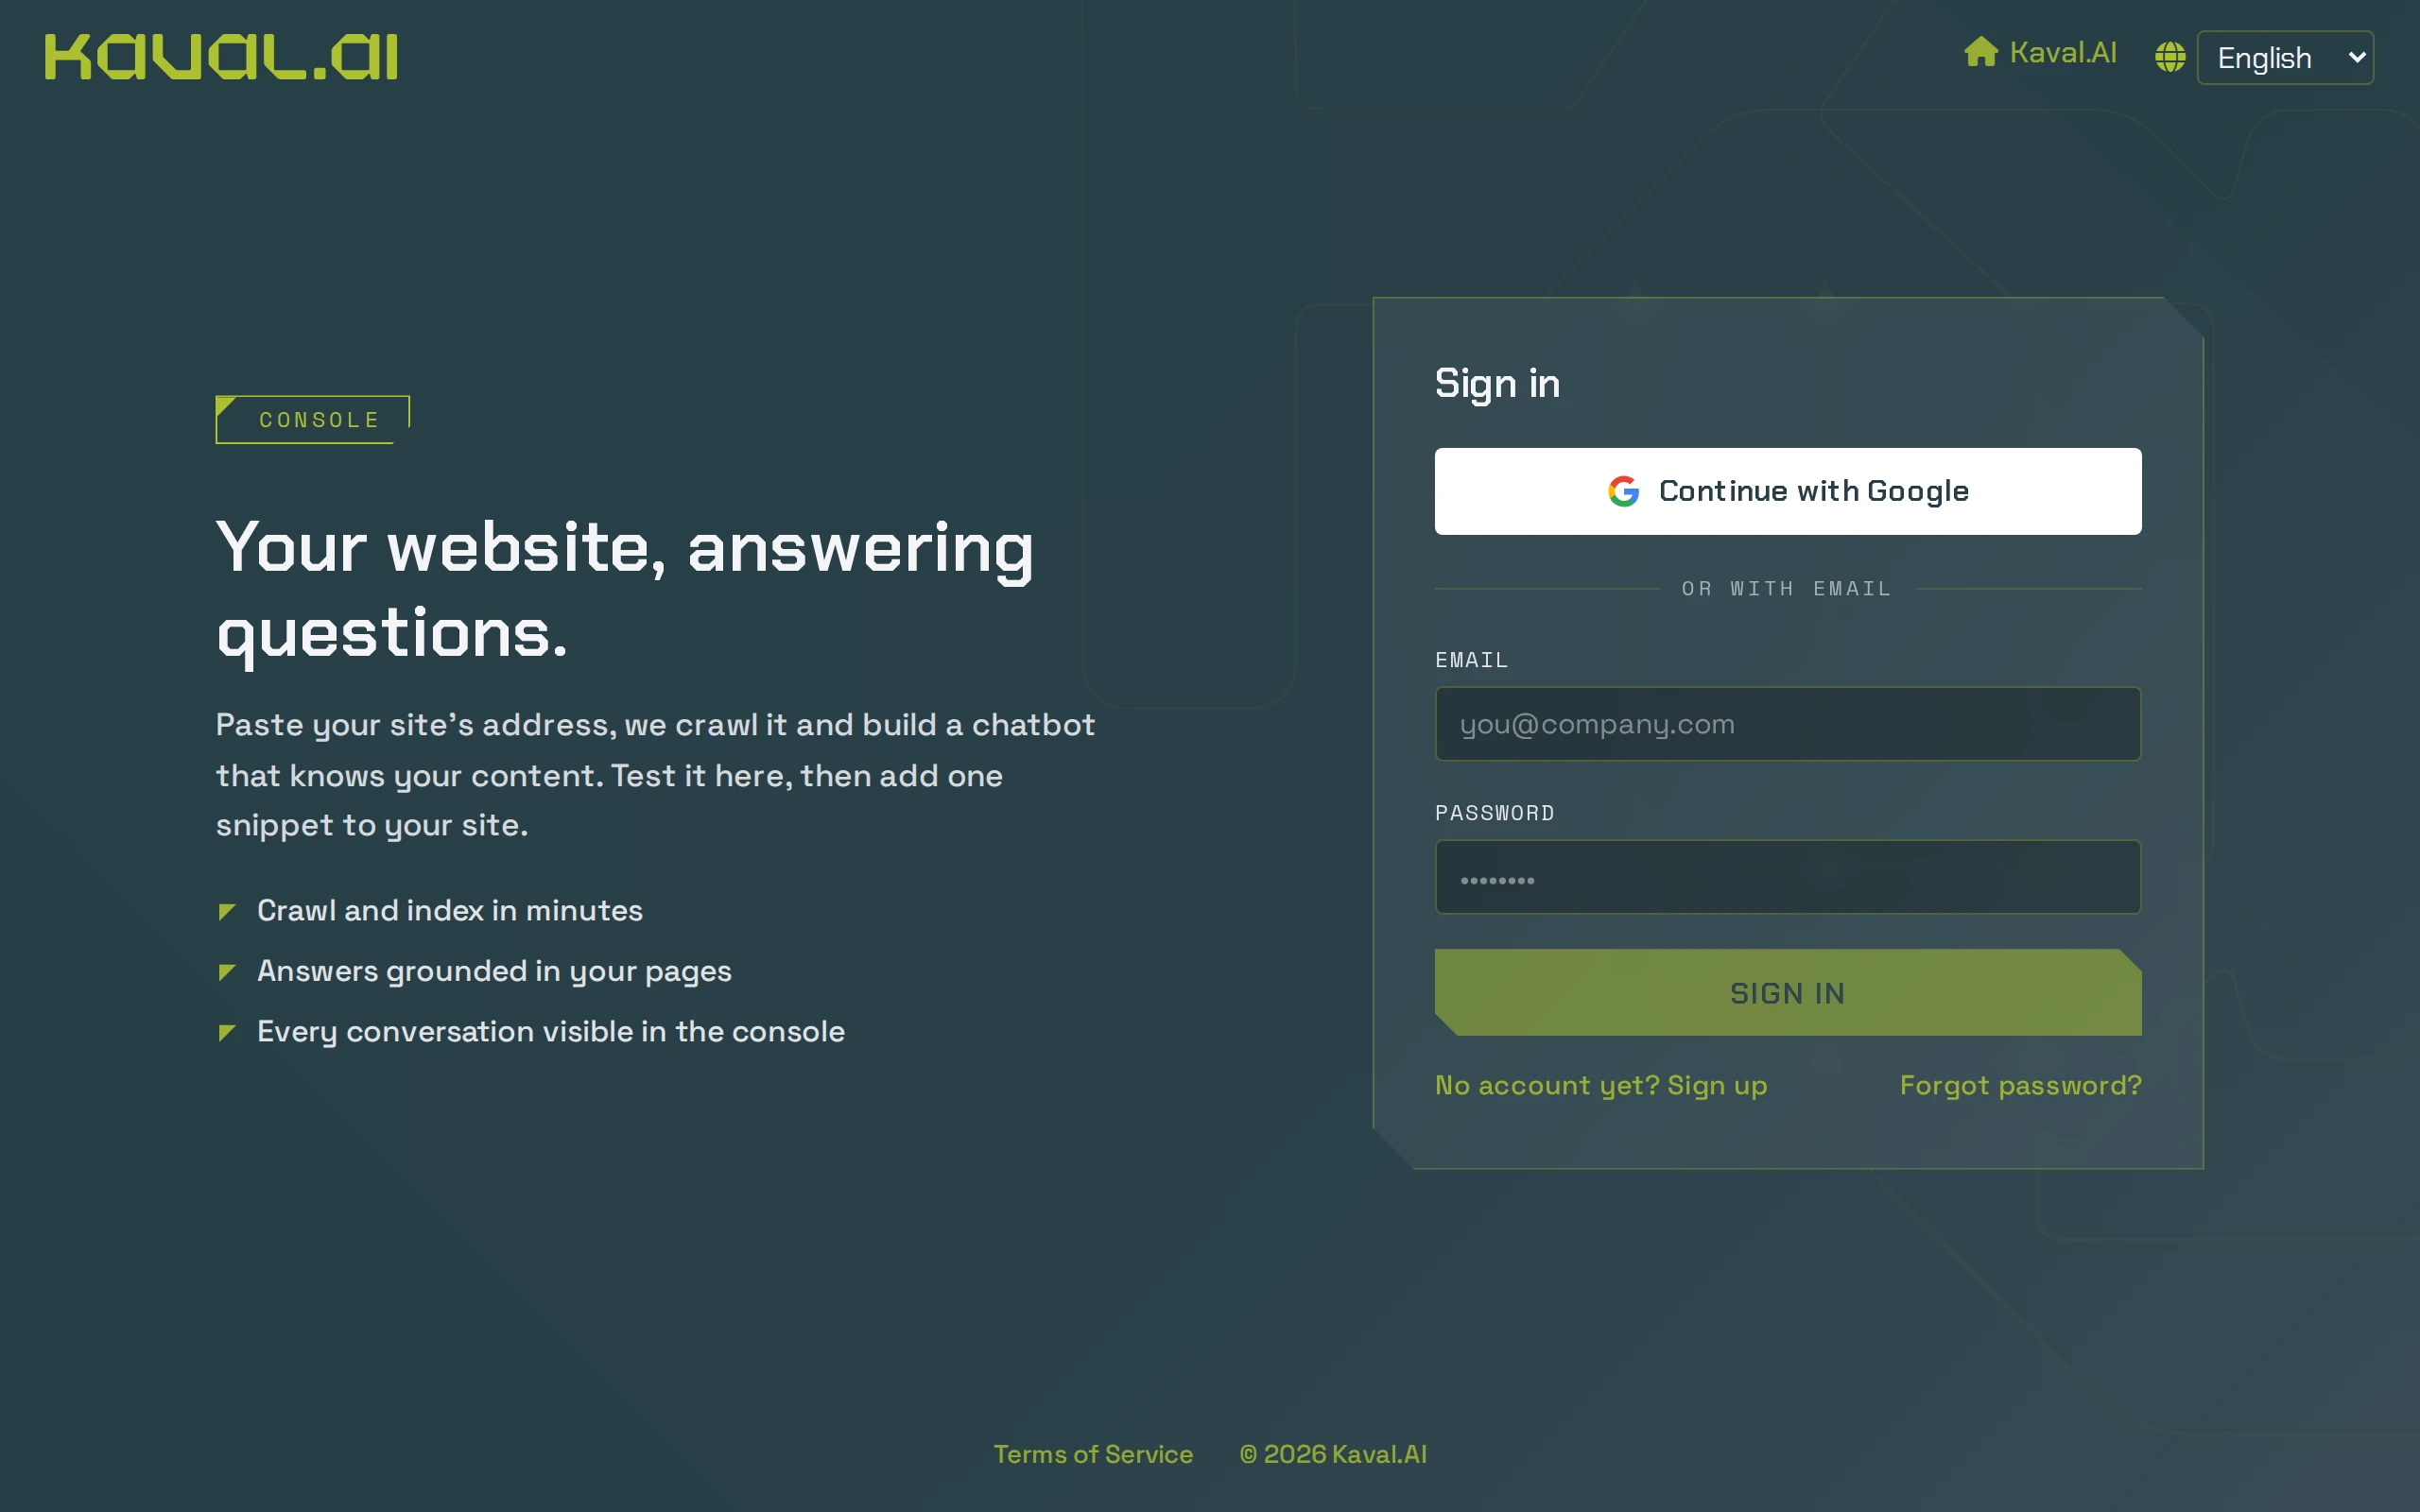
- Open the console at app.kaval.ai.
- Choose how to sign up:
- Continue with Google signs you up with your Google account in one click.
- With email: click No account yet? Sign up, enter your email address and a password twice, and click Create account. We send you a verification link; open it, then come back and sign in.
- Read the Terms of Service, tick I have read the Terms of Service and accept them and click Accept and continue.
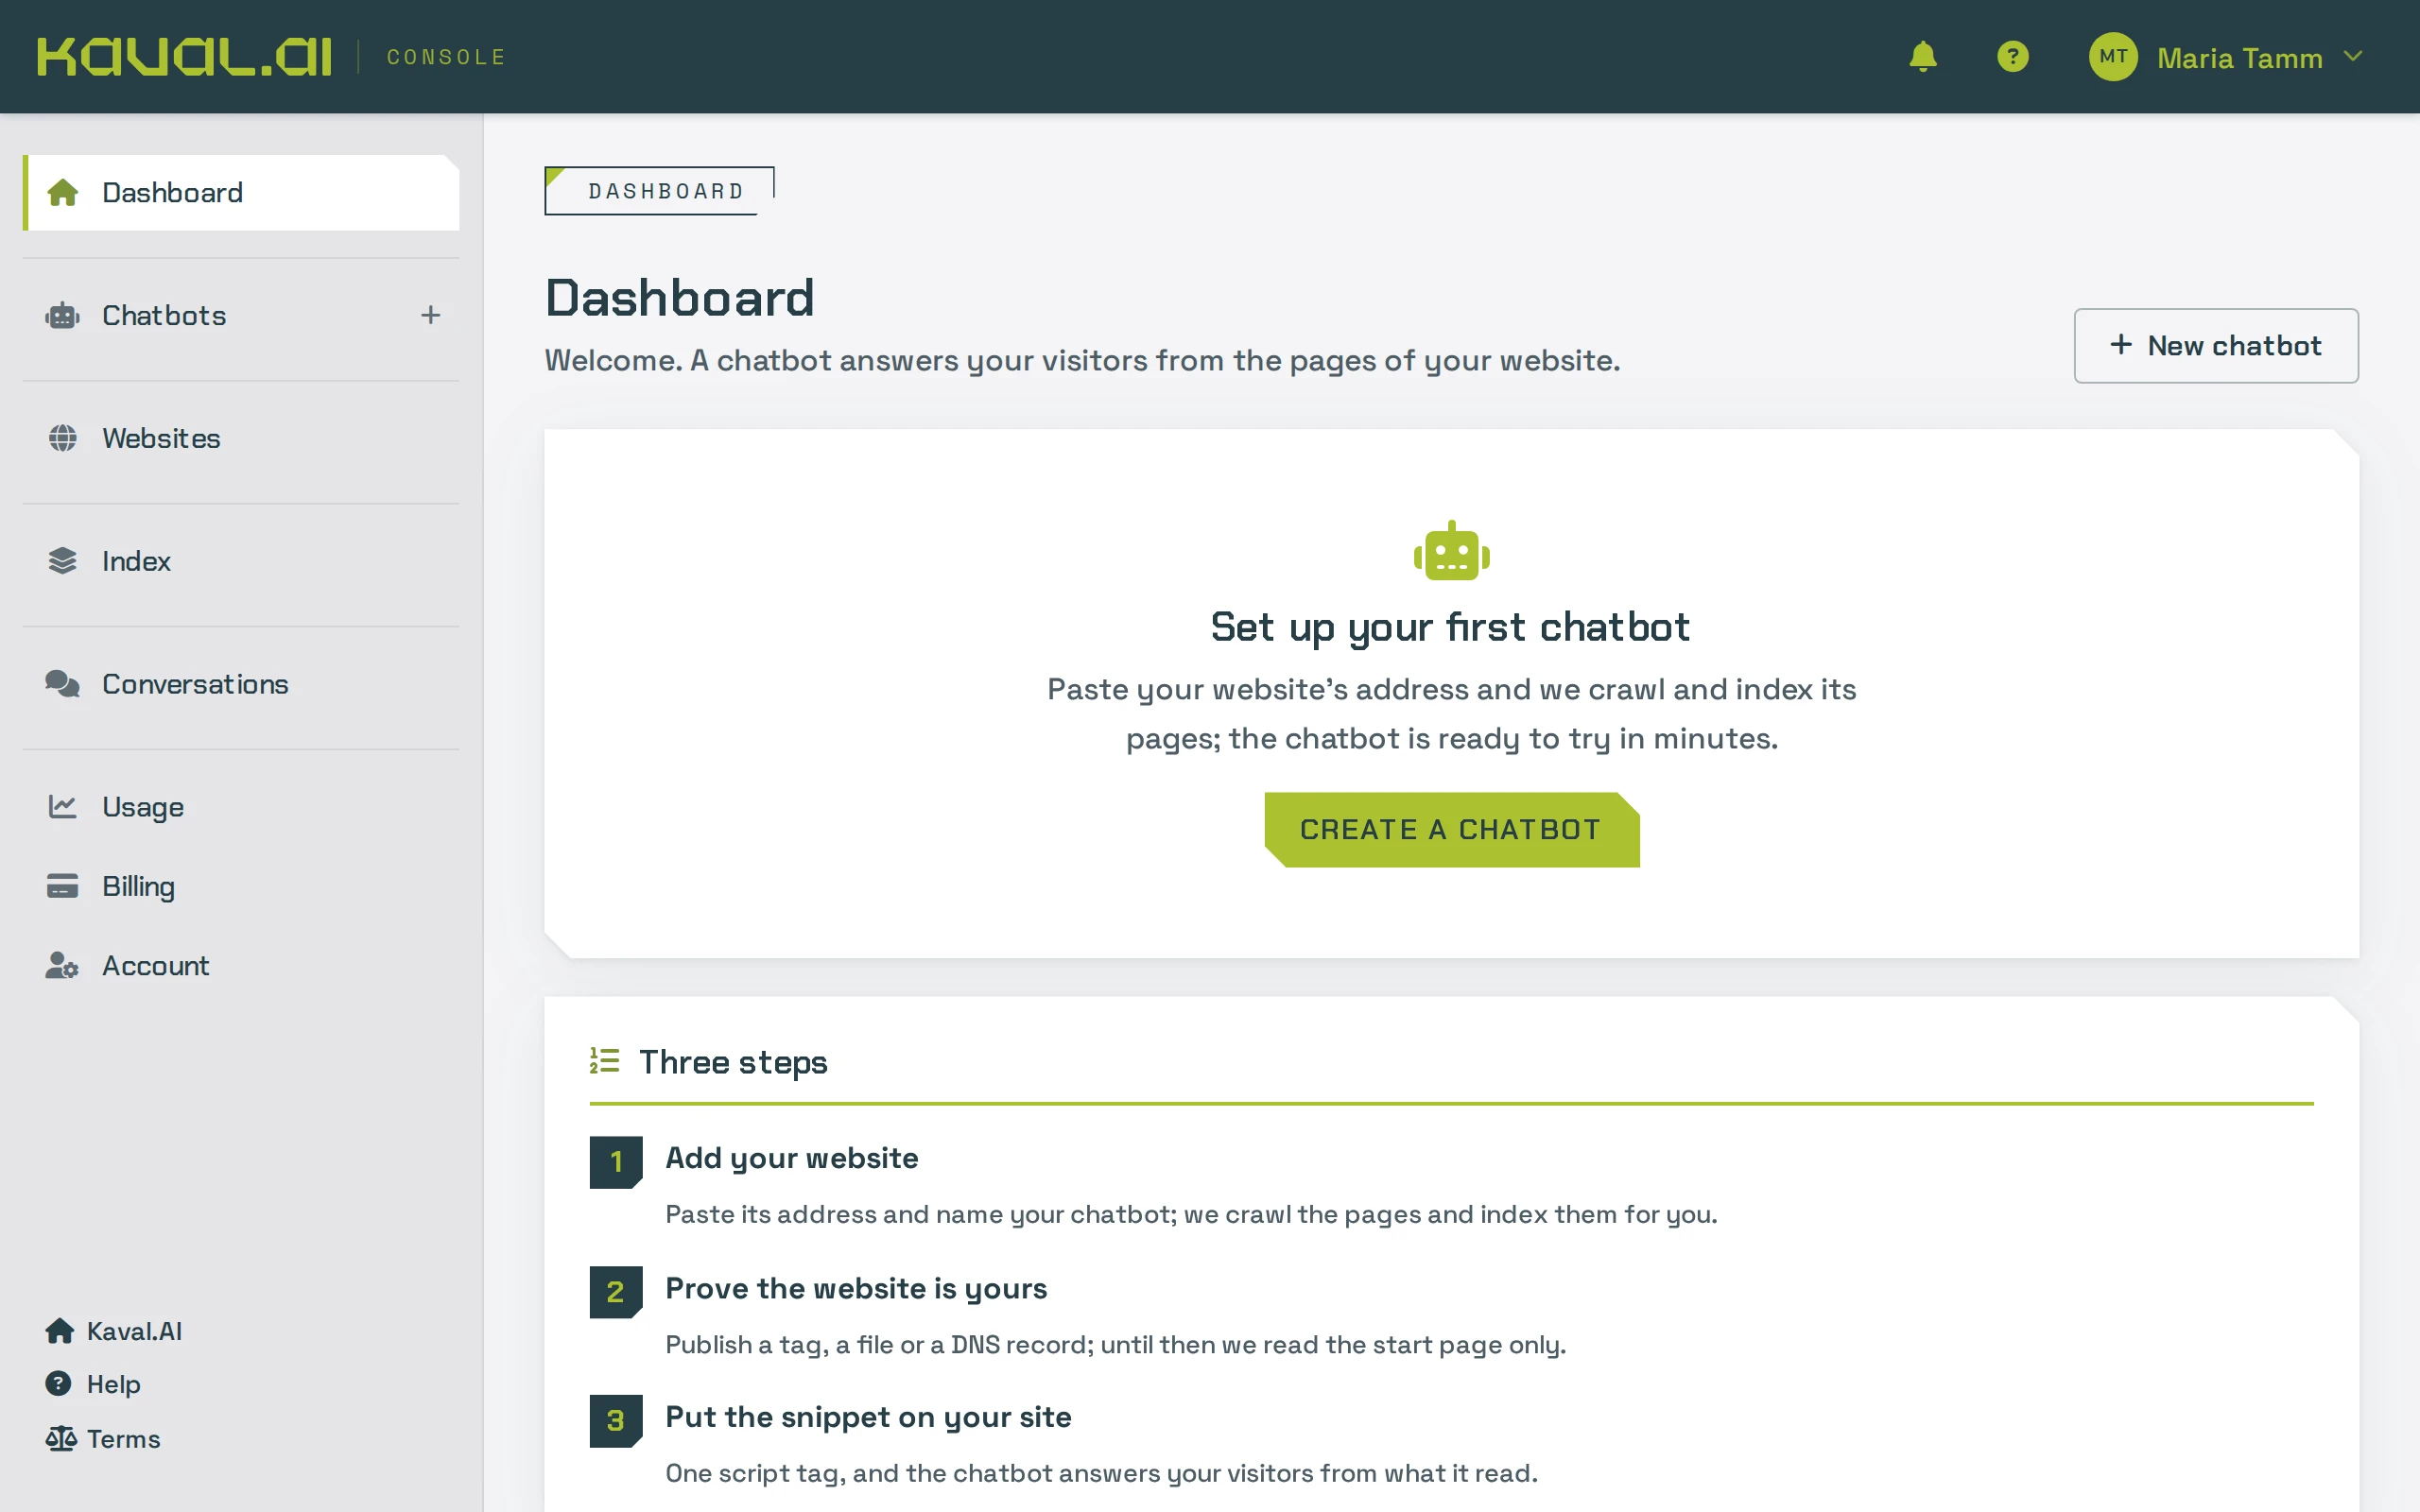
Your account starts on the Free plan. No card is needed. The console opens on the Dashboard, which shows the three steps ahead of you.
Tip: Forgot your password? Click Forgot password? on the sign-in page and we email you a link to set a new one.
Create your chatbot
- On the Dashboard, click Create a chatbot. You can also click New chatbot, or the + next to Chatbots in the sidebar.
- Under Website address, type your website's address, for example
https://www.example.com. Use the address where your content lives. A subdomain such asshop.example.comcounts as a website of its own. - Under Chatbot name, give your chatbot a name. Visitors see it at the top of the chat window, so a name like "Acme assistant" works well. You can change it later.
- Click Create chatbot.
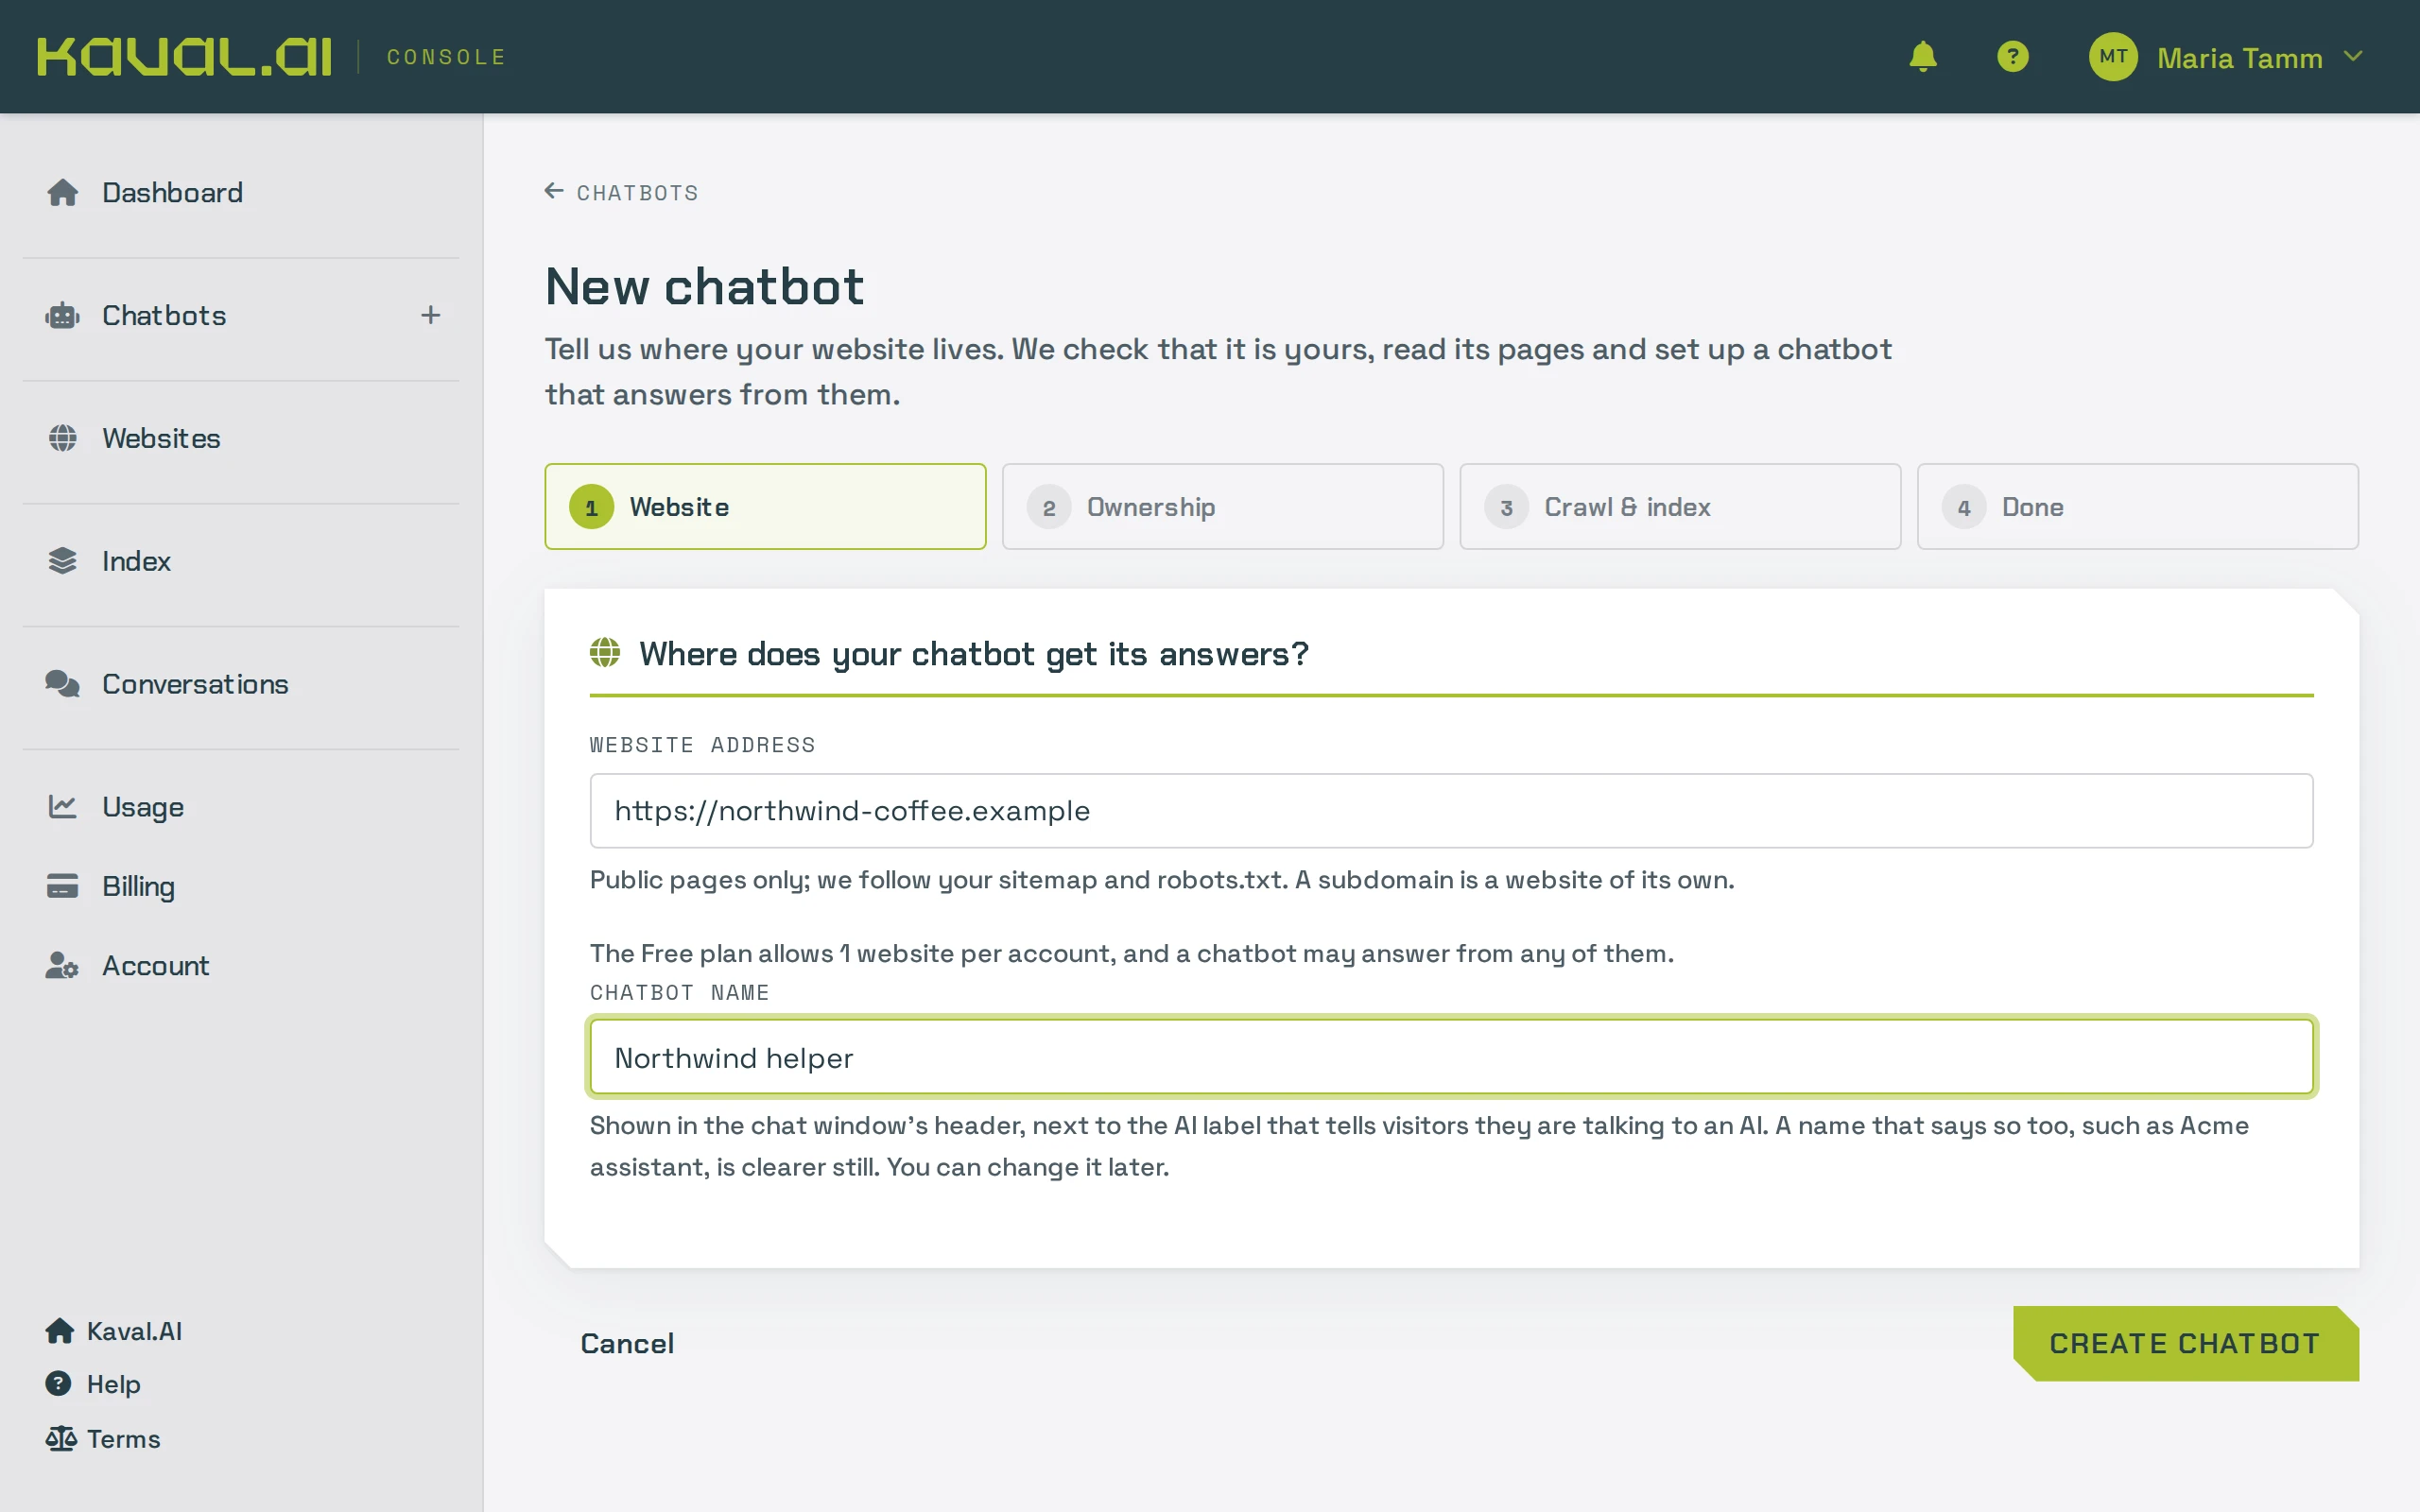
The chatbot is saved at once. You can leave the wizard at any step and pick it up again later from the chatbot's page.
Prove that the website is yours
Kaval.AI only reads a whole website, and only lets a chatbot speak for it, once you have shown that the website is yours. Until then it reads just the start page, and only you can talk to the chatbot, in the console's preview.
The Ownership step offers three ways to prove it. Pick the one that is easiest for you:
- HTML tag: copy the
<meta>tag and paste it into the<head>of your start page. Website builders such as WordPress, Wix, Squarespace, Shopify and Webflow have a place for custom head code. - File upload: create a plain text file with the name and the content shown, and upload it to the top folder of your website.
- DNS record: add a TXT record at the company that manages your domain. This one also covers your subdomains.
Then:
- Click Copy next to the tag, file content or record, and publish it on your website.
- Click Check. The page also checks by itself every 15 seconds while it is open.
- When the badge turns to Verified, click Continue.
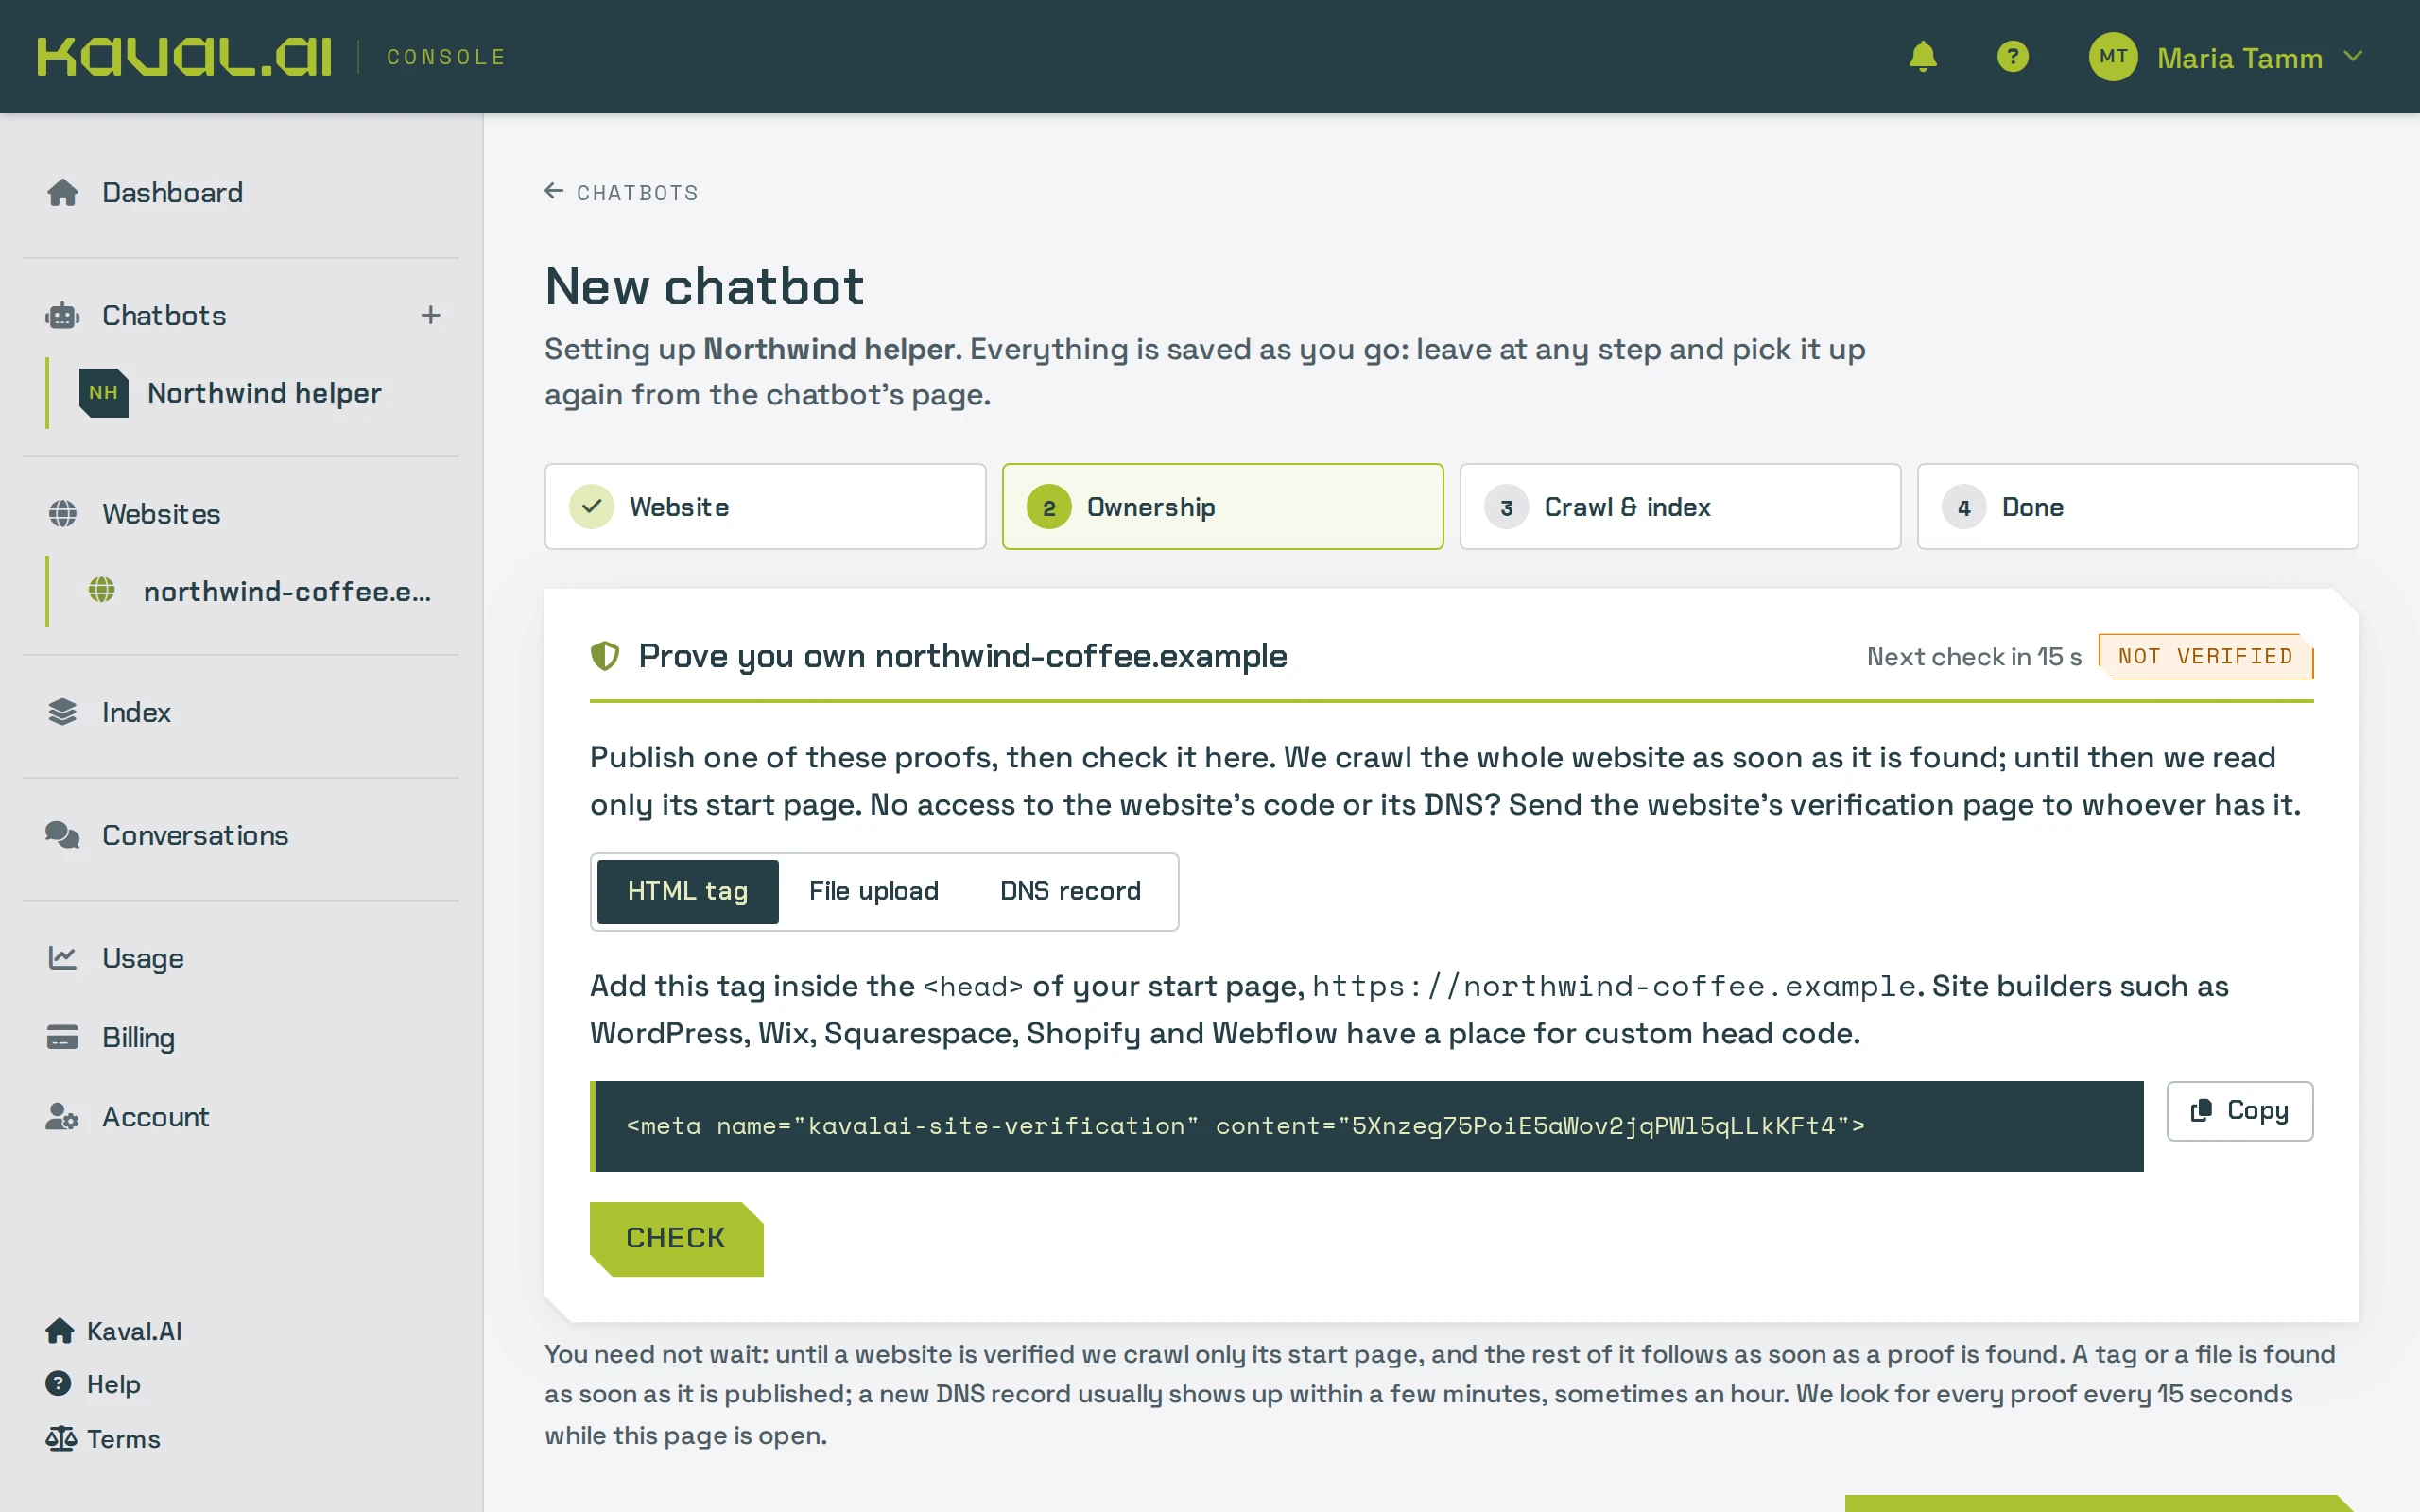
Tip: No access to your website's code or DNS? Send the website's verification page to whoever manages it, and click Continue without waiting. Until the proof is found the chatbot answers from your start page only, and only in the preview. The rest of the website is read as soon as the proof appears.
For more on the proofs, see Websites and crawling.
Let Kaval.AI read your pages
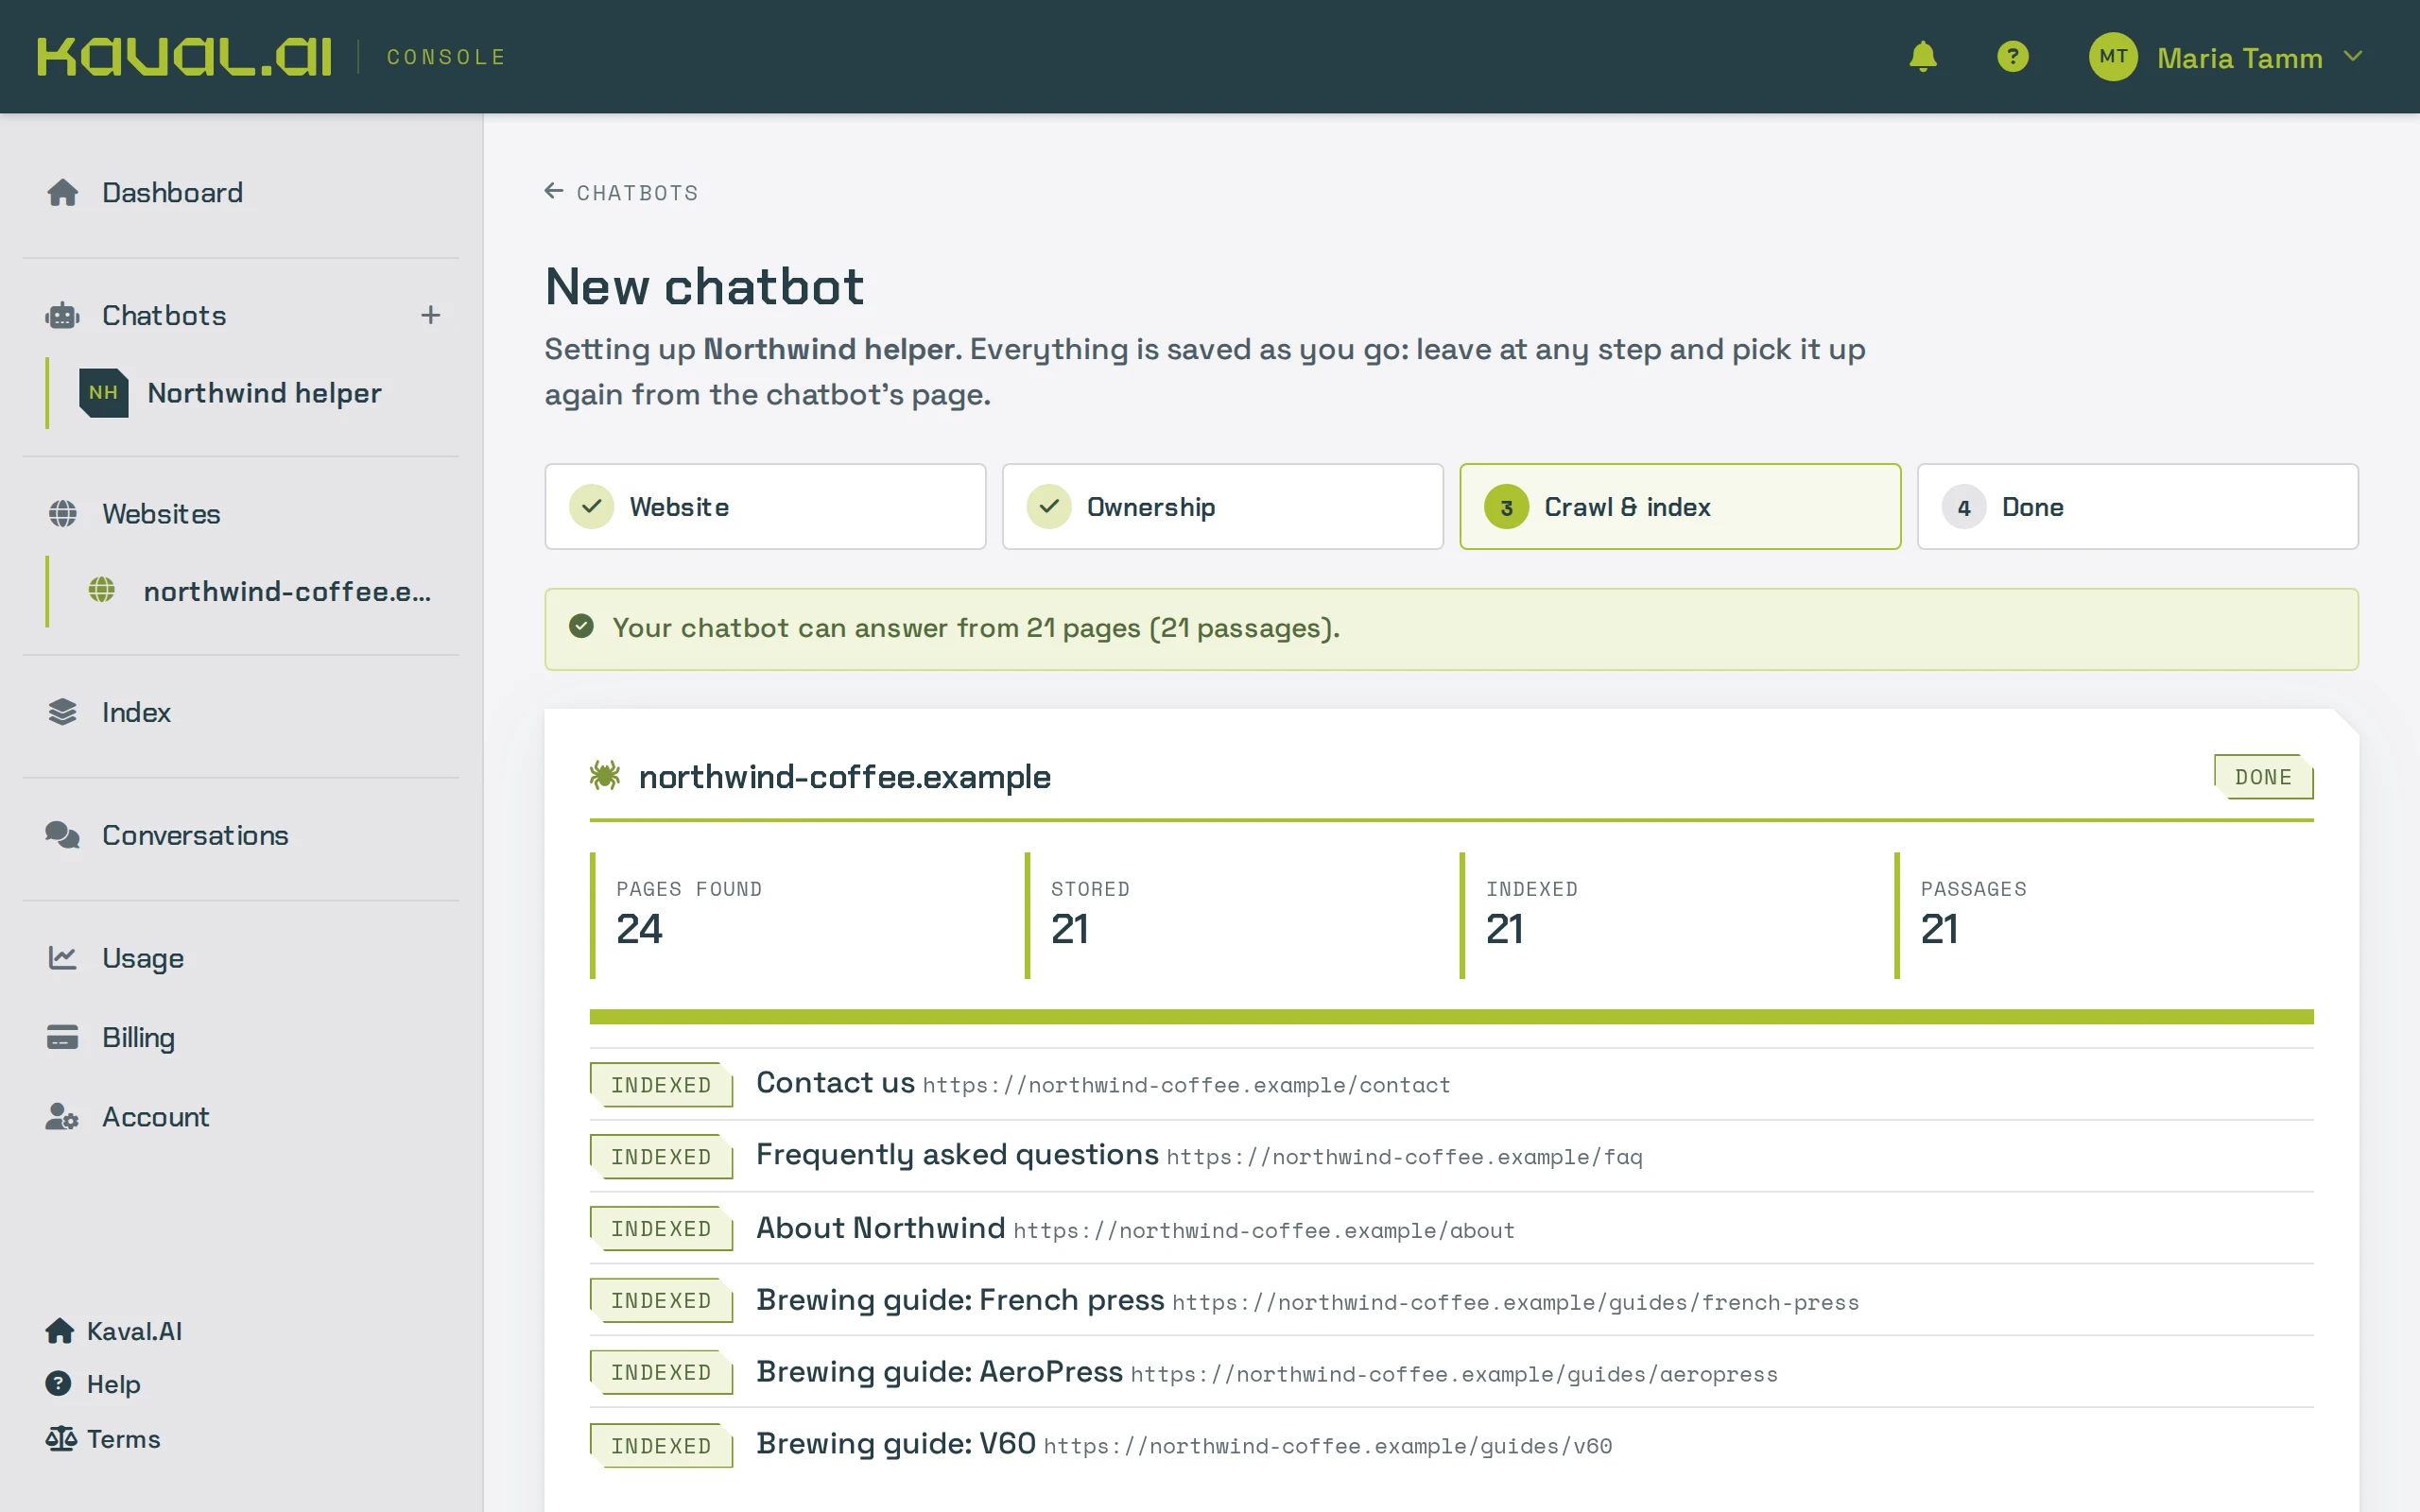
As soon as the website is verified, the Crawl & index step starts reading it: it follows your links, reads your sitemap and stores each page. Every stored page is split into passages and indexed, so the chatbot can find the right one for a question. You see the pages arrive one by one.
A small website takes a minute or two. When it finishes, the step says how many pages your chatbot can answer from.
If a page you expected is missing, it may not be linked from anywhere, or your robots.txt may block it. See
Websites and crawling.
Test your chatbot
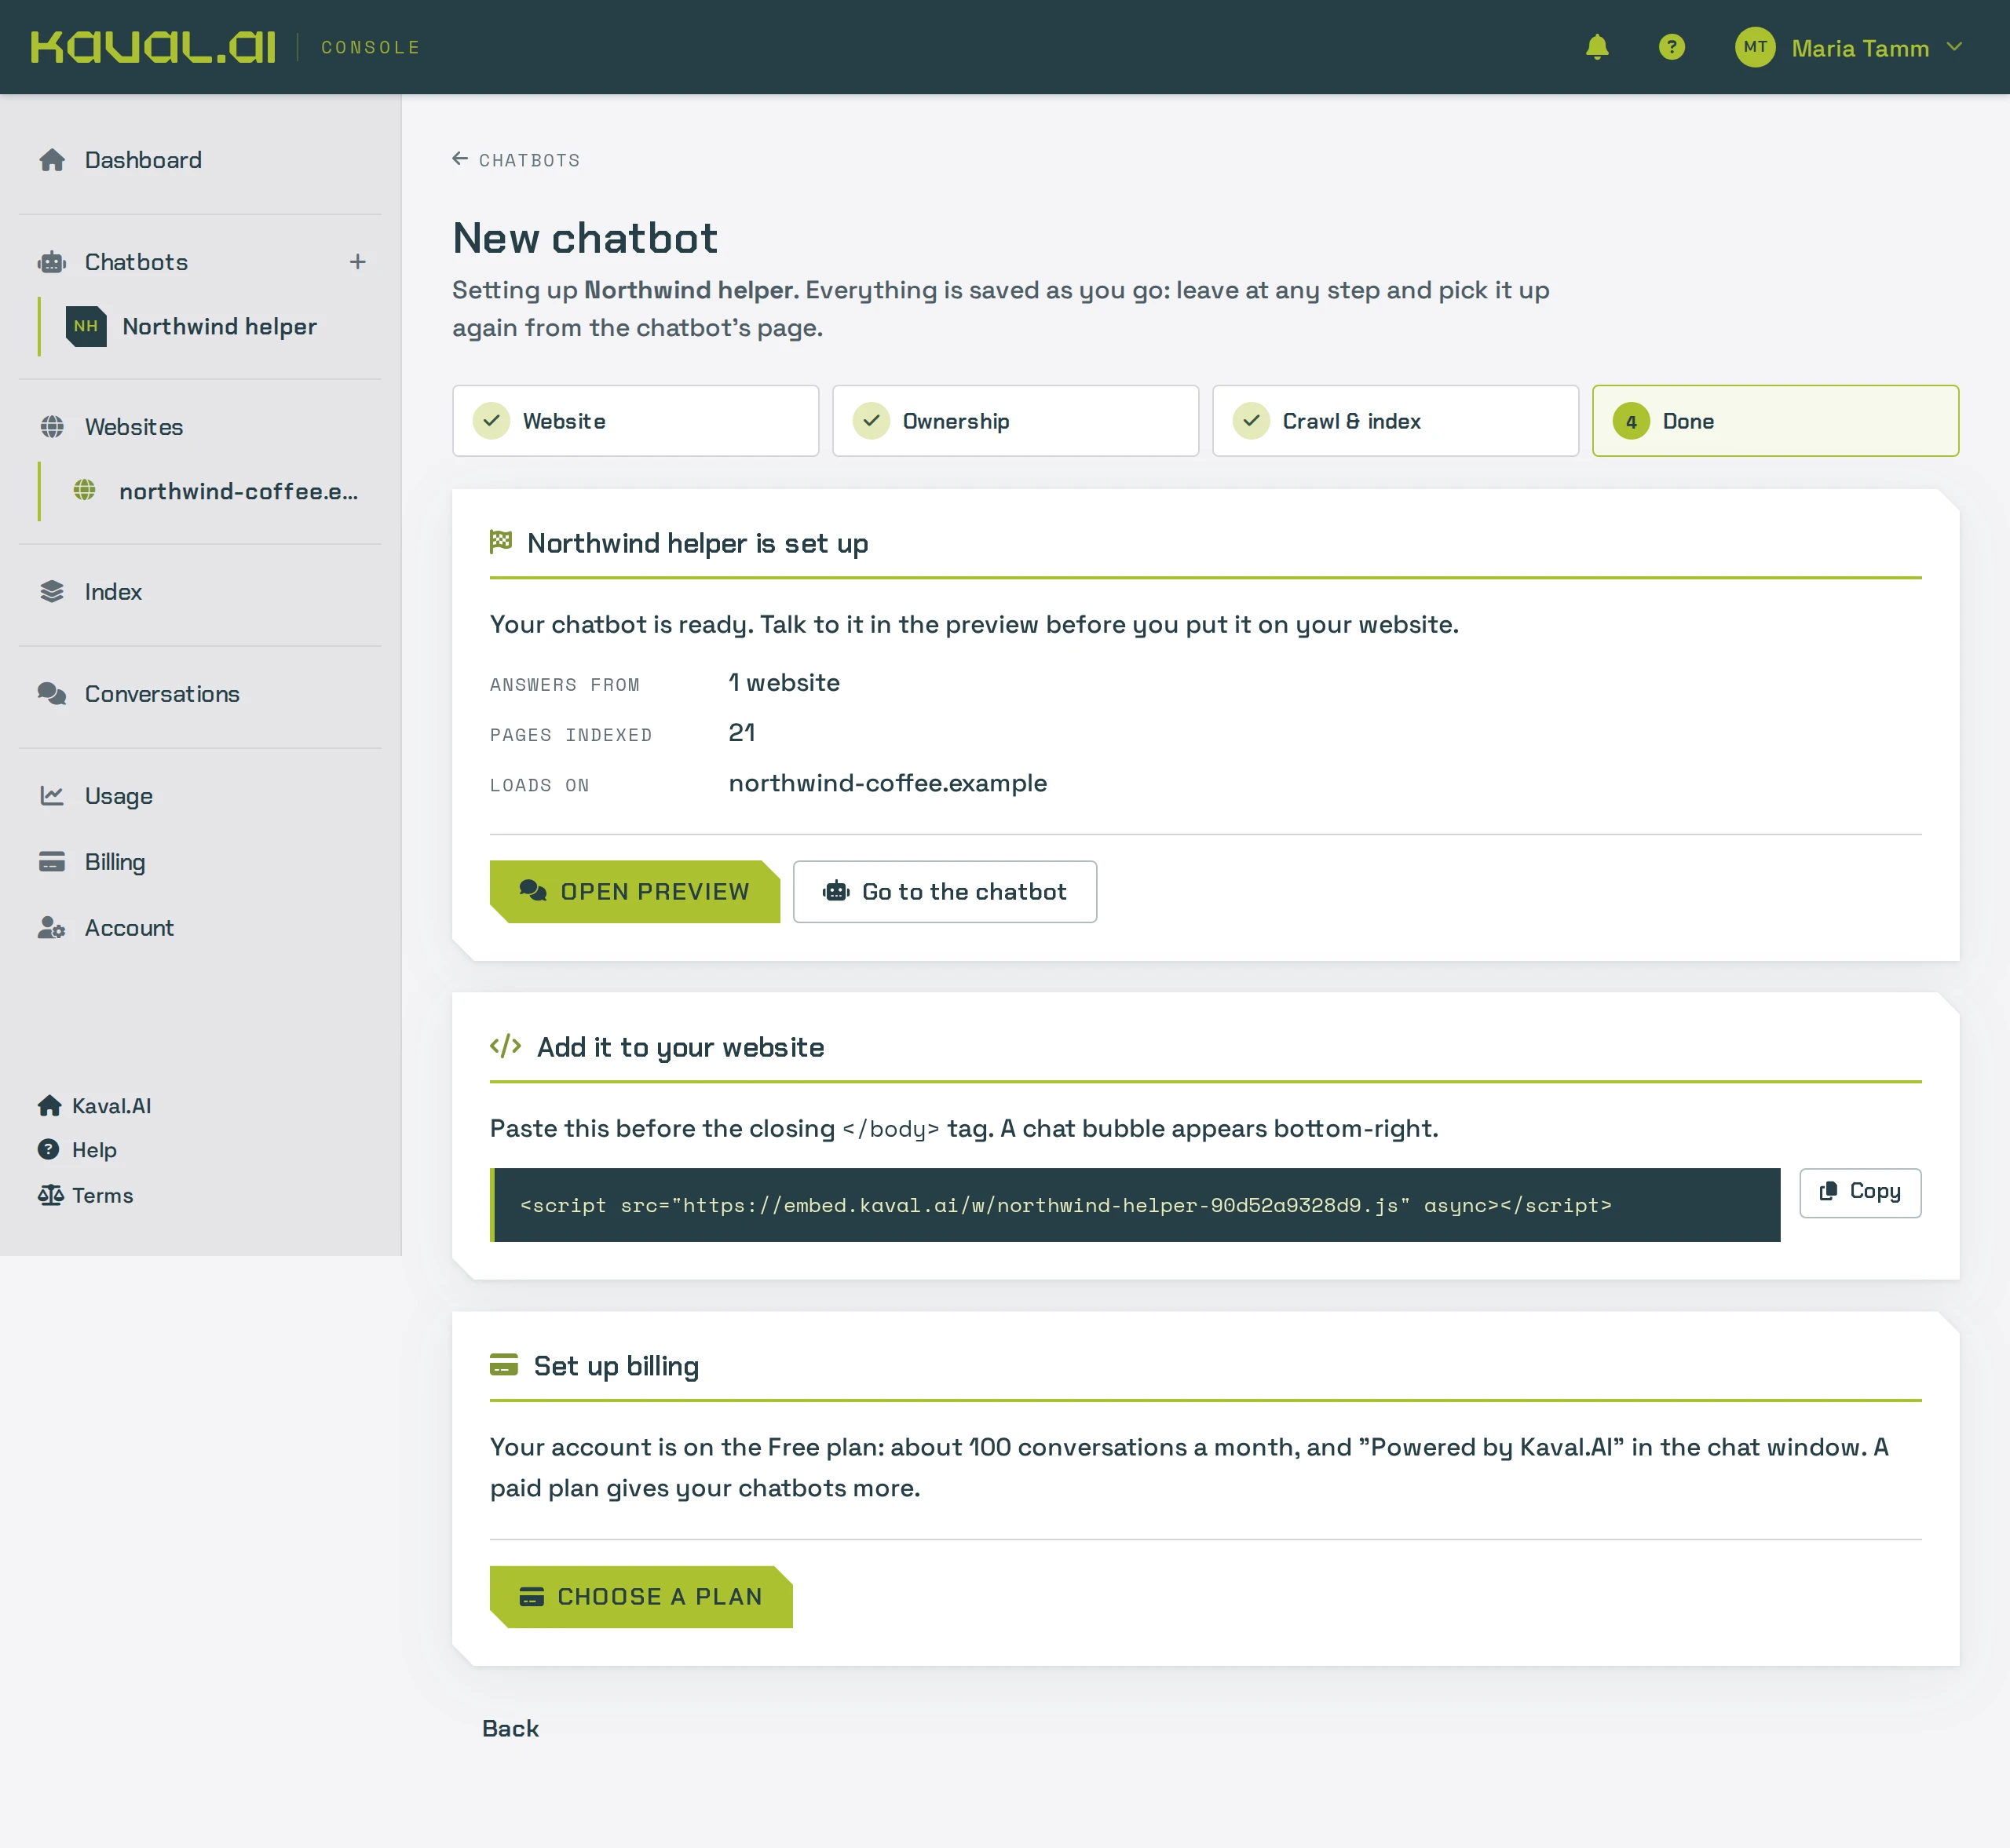
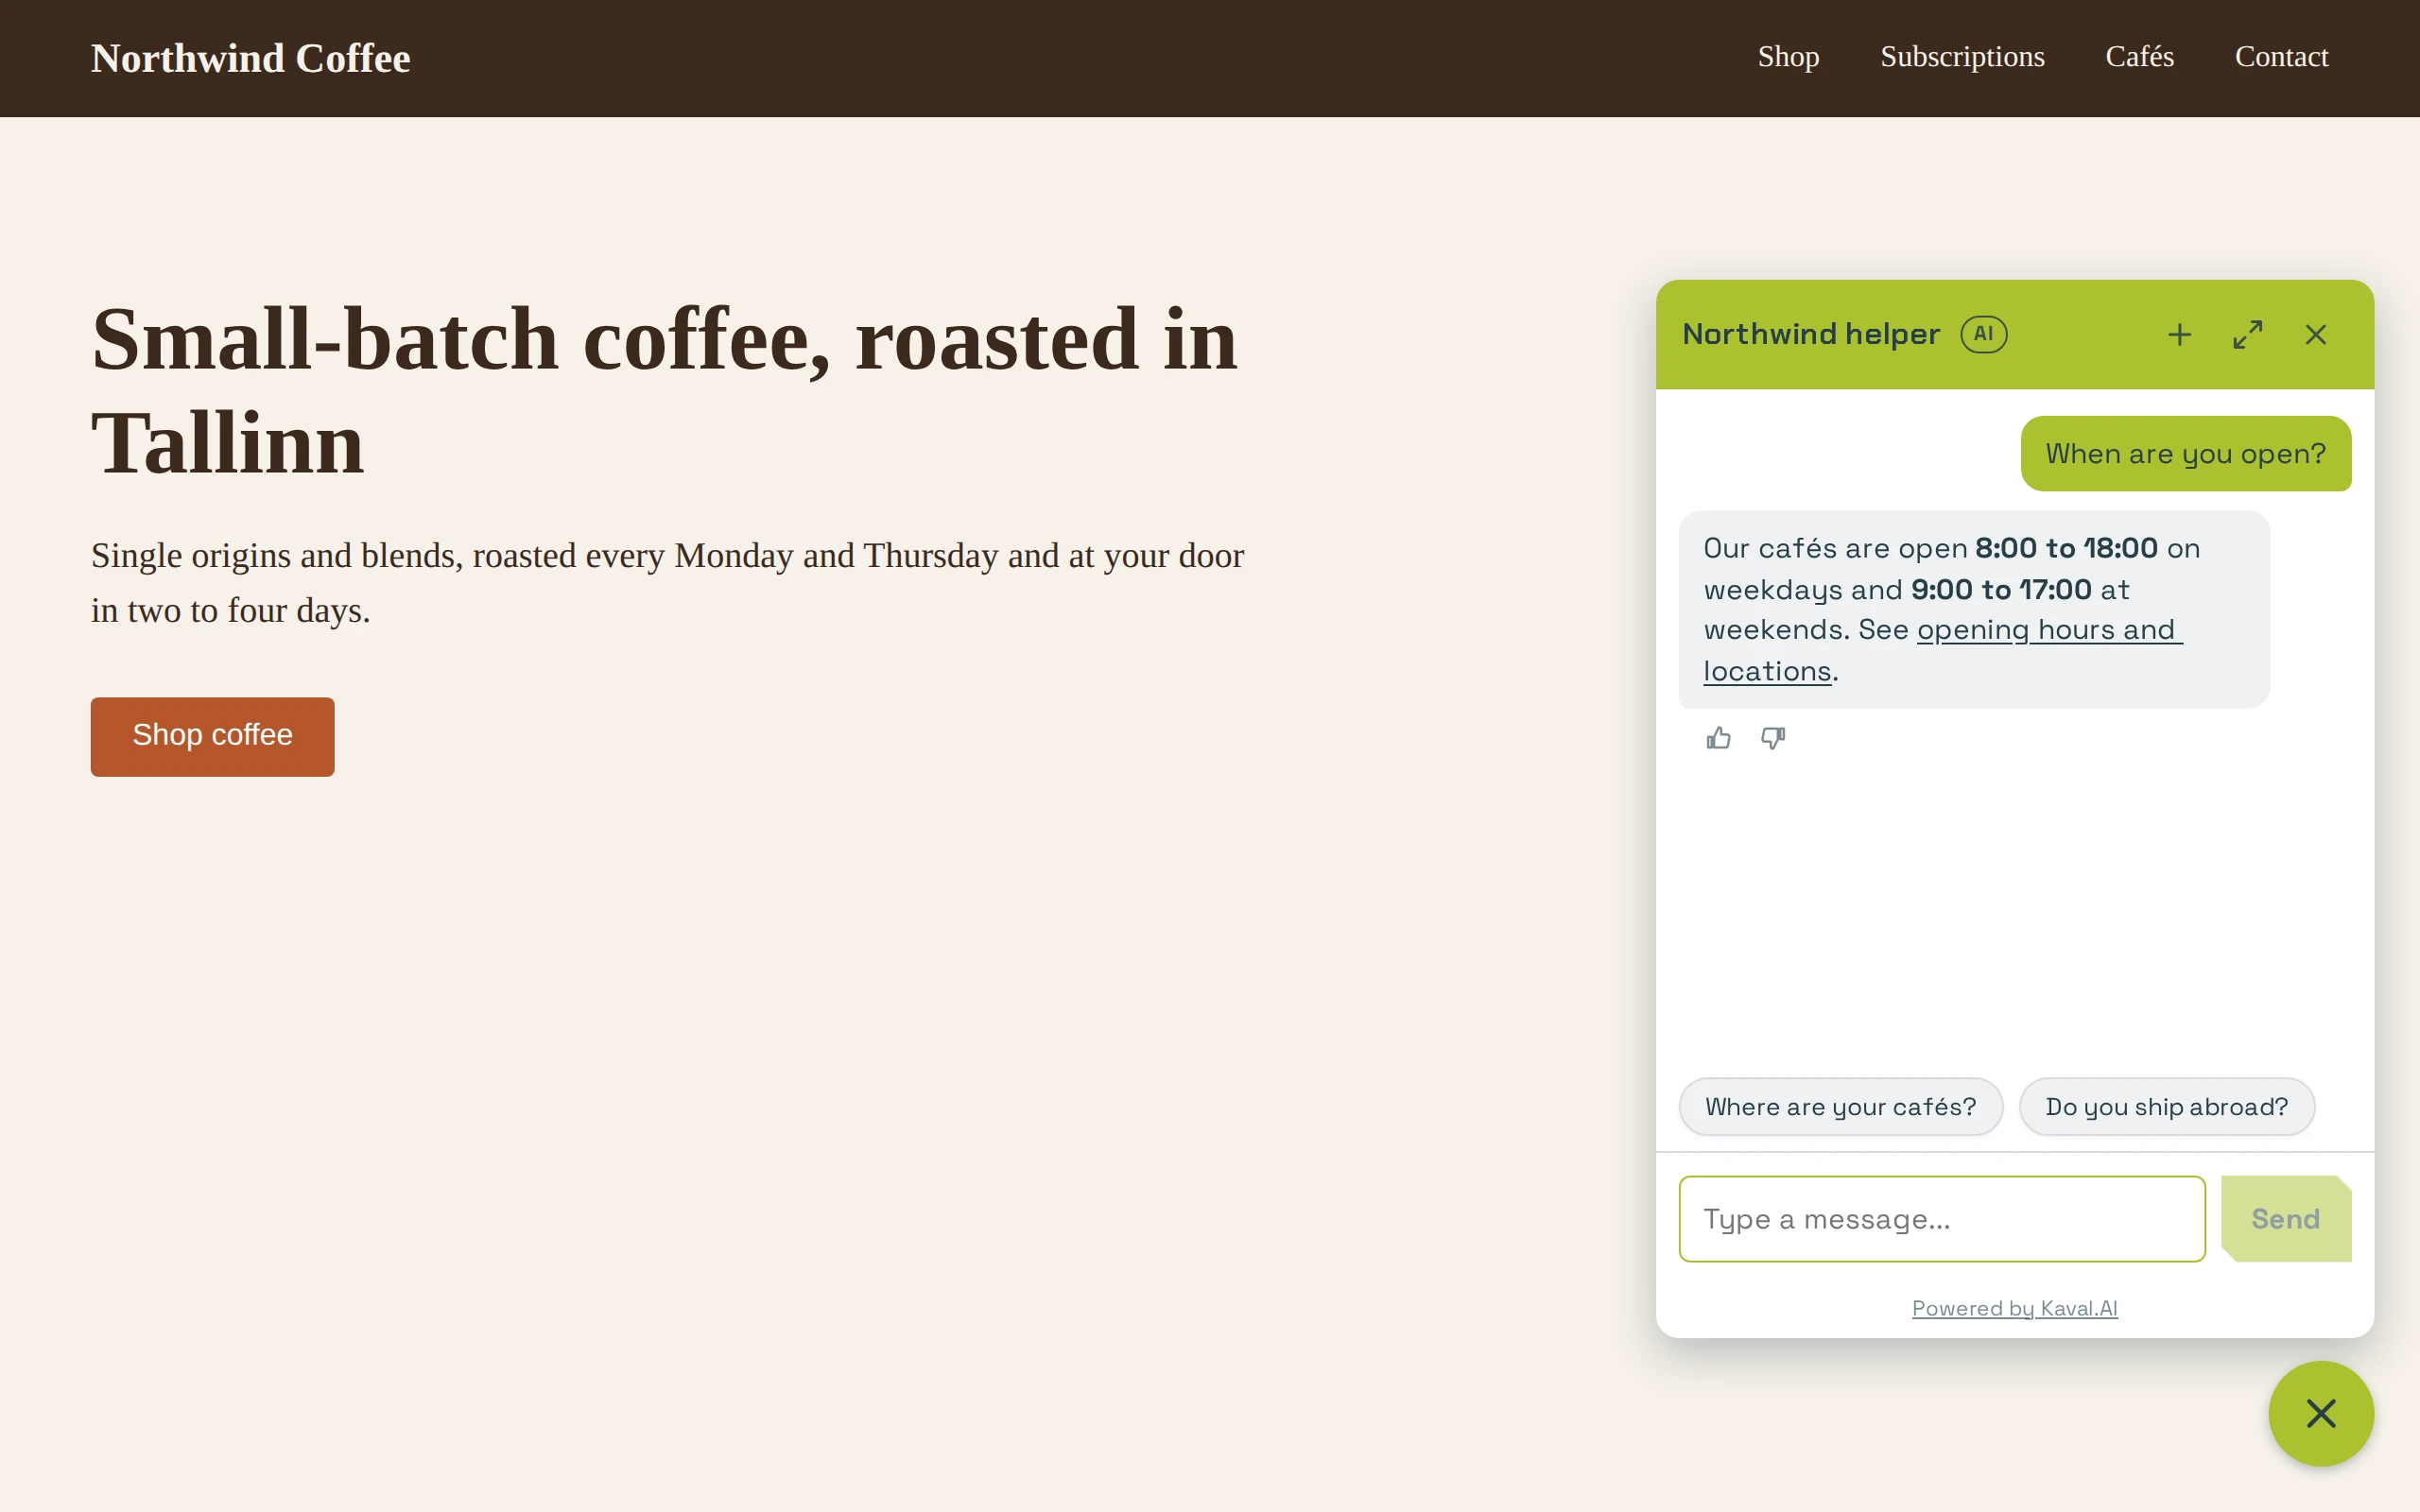
The Done step sums up your chatbot. Click Open preview and ask it the questions your visitors ask: your opening hours, prices, delivery, how to get in touch. Answers link to the pages they come from.
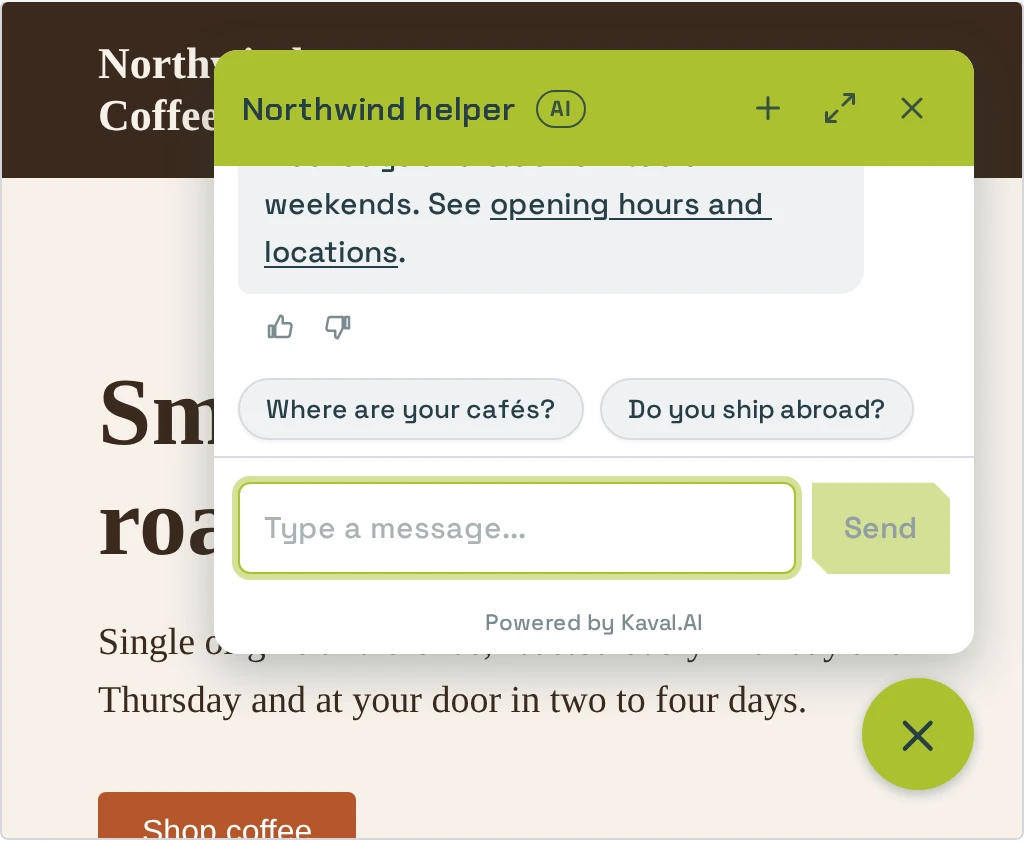
The preview is the real chatbot on top of your own website. Conversations in the preview are marked as previews and stay out of your statistics.
Not happy with an answer? See Change how the AI behaves and Analytics.
Add the chatbot to your website
-
In the Add it to your website card, click Copy next to the script tag. It looks like this:
<script src="https://embed.kaval.ai/w/YOUR-CHATBOT-ID.js" async></script> -
Paste it into your website just before the closing
</body>tag, on every page where the chatbot should appear. Most website builders have one place for code that goes on every page; see Add the chatbot to your website for WordPress, Shopify, Wix, Squarespace, Webflow and Google Tag Manager. -
Publish the change and open your website. The chat bubble appears in the bottom-right corner.
The snippet stays the same when you change the chatbot, so you only paste it once. You find it again any time on the chatbot's page, in the Add to your website card.
What next?
Your chatbot is live. From here:
- Make it look like your brand: colours, logo, fonts and the greeting. See Customization.
- Tell it what matters to your business: the tone, what to recommend and where to send people. See Change how the AI behaves.
- See what visitors ask, and fix the answers that miss. See Analytics.
- Invite your colleagues. See Account and team.
- Need more conversations or pages? See Plans and billing.
The Free plan includes one chatbot, one website, 200 pages and about 100 conversations a month, with "Powered by Kaval.AI" in the chat window.